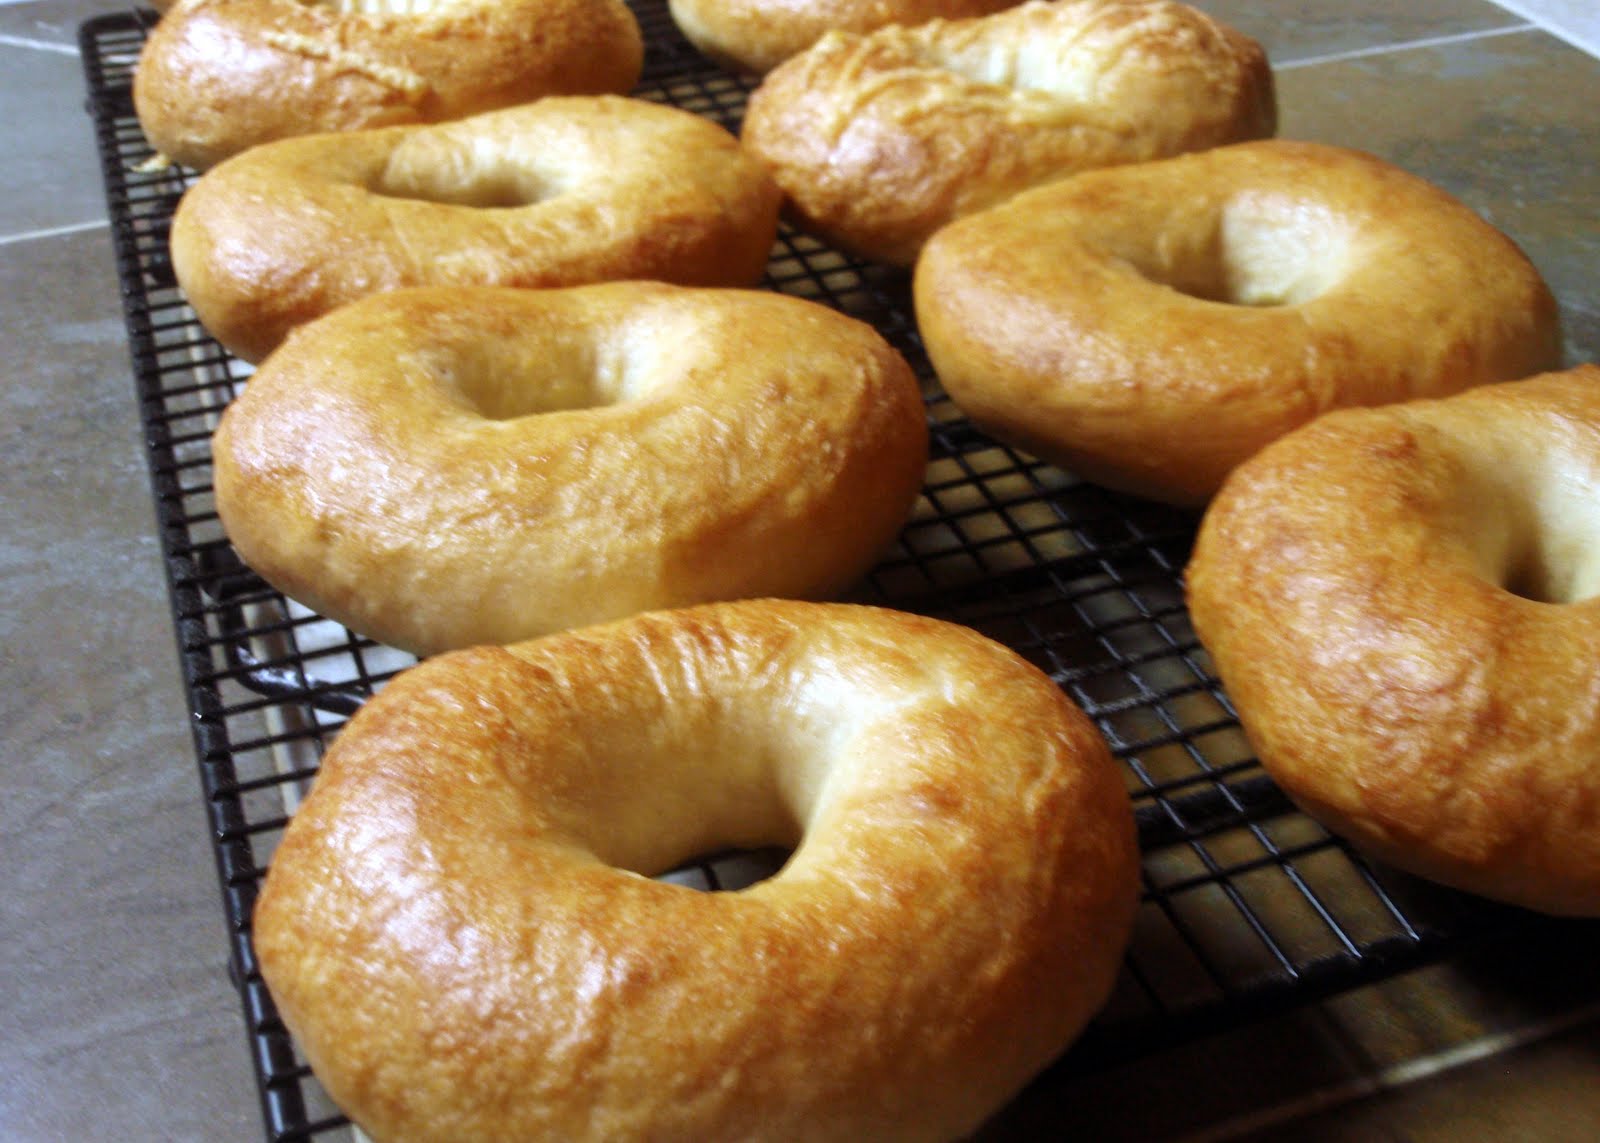
Ok, so I don’t live in NYC, or anywhere near there. I’ve never had a “real” New York bagel. However, I can sure tell you that those things you get in the plastic bag at the grocery store in the refrigerator section that are called bagels, aren’t.
I’ve tried several times to produce a good bagel following various recipes I’ve found, and usually I’ve been pretty disappointed. The resulting bagel is either too soft, too dry, too yeasty, or too lumpy. Finally I gave in and tried Peter Reinhart’s recipe from The Bread Baker’s Apprentice. I’ve tried it before with mixed luck, but this time things turned out great. I’m not entirely sure what the difference was this time; perhaps I just was in the right frame of mind to get it right.
The key here seems to be really working the flour into the dough, working in at least two stages, and thoroughly kneading the dough (I didn’t really knead enough this time… I promise I’ll do more next time!). This is at least an 8-hour process, although most of it is spent just allowing the dough to do its thing.

Classic Bagels
Ingredients for Sponge
- 1 tsp instant yeast
- 4 cups bread flour
- 2 1/2 cups water
Instructions for Sponge
Mix together the yeast and flour, add the water, and stir until smooth. Then let this sit, covered, for about 3 hours. The mixture should be quite bubbly at this point.
Ingredients
- 1/2 tsp instant yeast
- 3 1/2 cups bread flour
- 1 Tbsp salt
- 2 tsp dry malt extract (or substitute any sugar)
Instructions for Dough
Add the additional yeast, 3 cups of flour, salt, and sugar. I used dry barley malt extract that I have available from my home brewing adventures, but I think any sugar would do the trick here. The idea is that the sugar helps to caramelize and give a nice brown color to the bagel as it bakes. I used my KitchenAid mixer to work the additional ingredients in. It’s really a little overloaded for the advertised capacity of the mixer (six cups flour), as well as being a stiff dough, so I just mixed until the flour was incorporated and then went to knead on the counter with the remaining flour. Knead until completely smooth (I only kneaded for a couple minutes, and I regret that. I should have done at least five or six).
Divide the kneaded dough into 12 pieces, place on oiled parchment paper (I have these wonderful re-usable teflon sheets that I use instead), and cover. Allow the dough to rise an additional half hour. At this point you’re ready to shape the dough.
Shaping the Dough
The easiest way to shape the dough is to roll the divided pieces into a ball, and then push your finger right through the center. Then work the dough around your finger until it resembles a ring. After you’ve shaped the bagels, put them back on the parchment paper and cover again. At this point you can either refrigerate for up to 24 hours, or just continue to let them rise for another three or four hours. You want to make sure they don’t over-rise, or they will deflate when you boil them. I think this is unlikely if you make sure you have kneaded the dough enough, and put in enough flour.
Boiling and Baking
Finally comes the interesting and fun part – turning these lumps of dough into a bagel. Preheat your oven to 500 degrees, and start a large pot of water to boil. Once the water is boiling, add about a tablespoon of baking soda. This addition of a base gives the outer crust of the bagel a distinctive flavor – soft pretzels are a similar process but I think usually use a more concentrated amount of baking soda. You’ll want the water to be boiling pretty vigorously and a large amount of water so the temperature doesn’t drop too much when you add the bagels. Carefully lift the bagels off of the parchment and lower them into the water with a slotted spoon. They should float quickly. Allow them to boil for one minute, then turn to the other side and boil for another minute. Return them to the parchment paper. You can add seeds or other toppings immediately after boiling.
Once you’ve boiled all of the bagels, it’s time to put them in the oven. Bake for five minutes, reduce your temperature to 450 degrees and rotate your baking pans to ensure a more even baking process. After another 5 minutes, the bagels should be fully baked – now just keep an eye on them and bake until they’re as brown as you desire. For me that was another five or six minutes, for total baking time of about 15 minutes. Cool on a wire rack and enjoy!