My wife grew up in the San Francisco bay area, so she’s always had a thing for sourdough bread – especially the “extra-sour” varieties. Unfortunately here in rural Minnesota it’s hard to get anything resembling real bread at all, let alone a true sourdough. So about ten years ago, I started experimenting with sourdough. I really didn’t have much luck with creating a starter from wild yeast around here – the resulting bread was always kind of heavy, didn’t have great flavor, and the starter was hard to keep alive.
Maybe six or seven years ago, I ordered a starter from King Arthur Flour. With this starter, I had somewhat better luck, but still not quite right. I shared this starter with relatives in Kansas and California, and when I managed to kill it off through neglect, finally got some back last November. I think the journey over the past seven years goes something like:
- Vermont to Minnesota
- Minnesota to Kansas
- Kansas to Minnesota (I killed it!)
- Minnesota to California
- Minnesota to California (They killed it!)
- California to Minnesota via Tennessee (I killed it!)
It seems to have gotten the nurturing it needed while out in California, and now I’ve got a quite healthy starter that makes a very good, very sour bread. The biggest key now seems to be a really long fermentation and rise time, gradually introducing more flour for the yeast to feed upon.

In my kitchen, which is somewhere between 62 and 65 degrees in the winter time, it takes about 36 hours of total fermentation time before I’m ready to bake. I’m hoping over the summer when it’s warmer I can reduce that time by a bit. The main idea here is to make sure your dough has actually doubled in size, regardless of the recipe’s guidelines on time. Sometimes it takes much longer than you might expect – these sourdough yeasts and bacteria are not very similar to commercial yeasts in their activity levels. I think they simply multiply much slower than the commercial strains, meaning you have to treat them differently or you’ll wind up with a really dense, not very flavorful brick of bread.
Extra-sour Sourdough Bread
Reviving the Starter
I keep our starter in a 1 quart plastic container (covered) in the refrigerator. I feed it about once per week, usually when I’m ready to bake bread. Feeding involves splitting the starter (about 2 cups of starter) in half. One half is either discarded or split and fed in the same way as the starter. Mix the starter with 1/2 cup of cool water until it’s dissolved and homogeneous. Then add 1 cup of flour. I usually use bread flour to feed the starter, although sometimes in a pinch I’ll use all-purpose flour. Now let it rest at room temperature, covered, for about 10 hours, or until the starter has roughly doubled.
Starting the Dough
Now comes the first feeding. Split the starter again, taking about 1 cup of starter for your dough, and feeding the remainder as before. The fed starter can go back in the refrigerator.

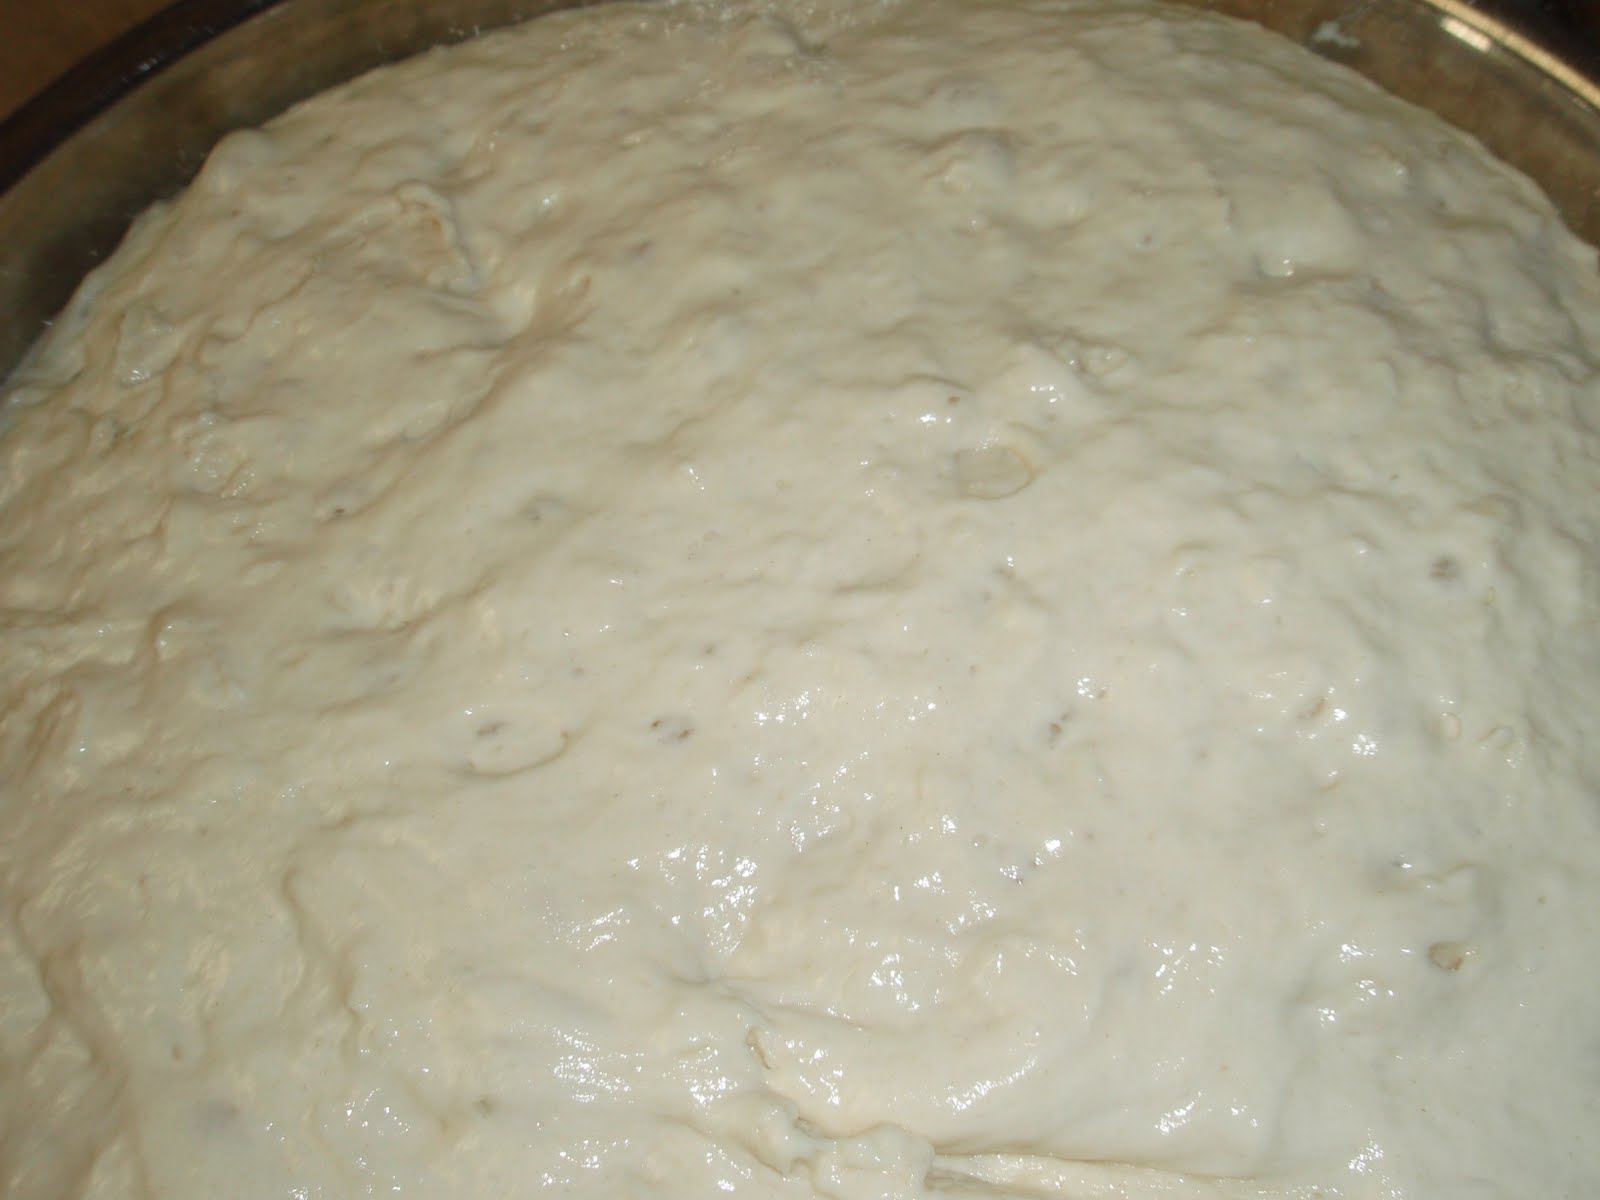
Using the 1 cup of starter, add 1 1/2 cups of water and again stir until smooth. Now add about 3 cups of bread flour to the starter/water mix. Stir until the flour is incorporated – it does not have to be perfectly even, you just want all the flour to be hydrated. This dough can then sit, loosely covered, for about 4 to 12 hours. Again the most important thing is watching the dough to see if it’s doubled in size. Sometimes this will take only a few hours for me, and sometimes it takes much longer.
Finishing the Dough
Now that the sourdough culture has been activated and is growing rapidly, you can add some more flour (to bring the dough to its final consistency) as well as salt and a little sugar to help boost the yeast activity. You can probably leave the sugar out if you’re willing to wait even longer for the final two rises. For this recipe I dissolve 1 Tbsp kosher salt (or 2 1/2 tsp table salt) and 1 Tbsp white sugar in about 3 Tbsp hot water. Then stir this salt/sugar/water mixture into the dough.
Now comes the hardest part, which is incorporating more flour into the mixture. Here is where you have to let experience be your guide to get just the right amount of flour added. It will probably take between 1 and 2 cups of additional flour – the most I’ve ever needed is 1 3/4 cups. So start with 1 cup of flour and work it in, either stirring/kneading by hand or with a stand mixer. Remember that this flour will suck up additional water as the dough rests, so it’s ok for the dough to be a little softer and stickier than you’d expect. I don’t really knead the dough, I just make sure the flour is evenly mixed in.
Rise and Shine
So now you have the final dough – it needs another few hours to continue to develop. Again time is less important than the actual activity. Let it rest in the bowl, covered, until it has doubled (or more) in size. My most recent batch I allowed about 4 hours and then it was ready for shaping, but sometimes I’ll let it sit overnight.
Shaping the Loaf

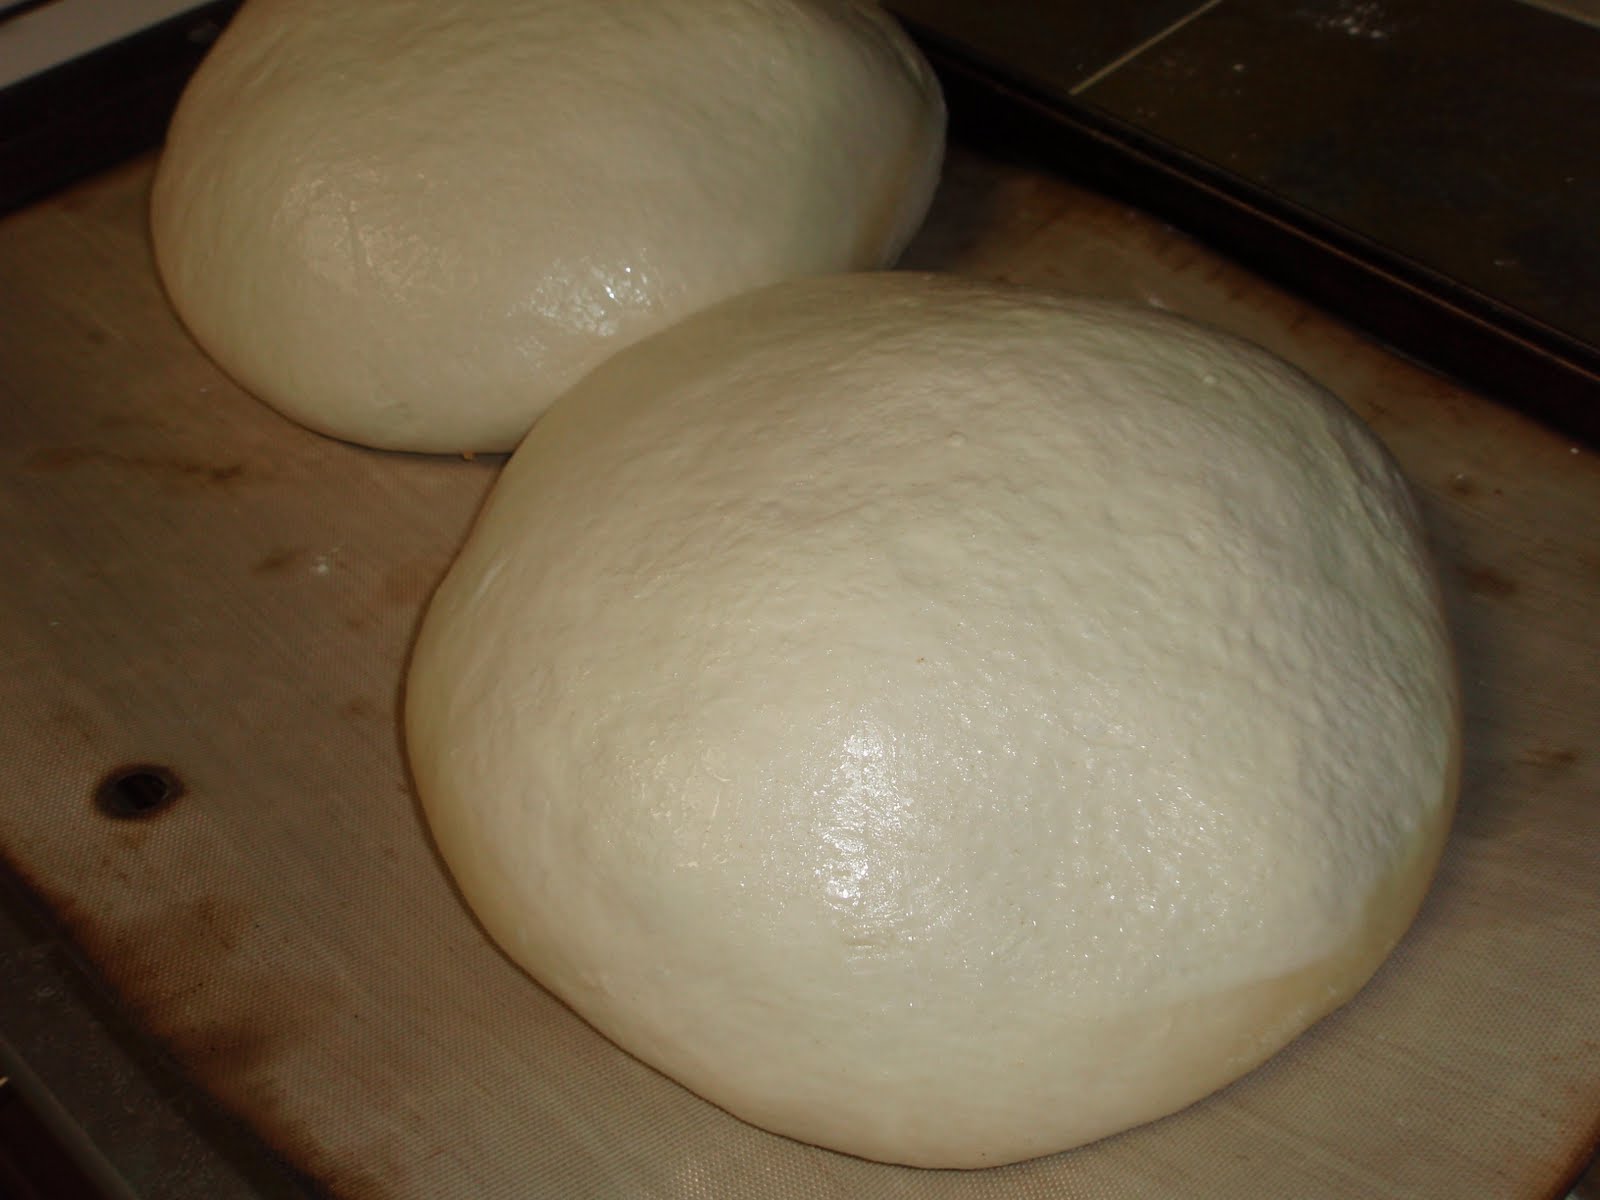
After the dough has doubled, it’s time to shape your final loaf. Using a little flour, you should be able to split the dough in half and shape however you’d like – long and skinny for baguettes, a round boule, or even into a standard sandwich loaf pan. I then spray with a little oil/cooking spray and cover with plastic wrap. This is where waiting really pays off – when you think it’s ready to bake, it probably could stand to wait another few hours. So let it keep rising.
Preparing for Baking
Preheat your oven to 450 degrees. You should start this about 30 minutes before you want to bake to ensure the entire oven is really hot. I have a baking stone that I place on the lowest rack of the oven, and a roasting pan on the floor of the oven (more about this in a second). If you don’t have an oven thermometer, get one – they are only a few dollars. You want to make sure your oven is actually the right temperature.
Bring about 2 cups of water to a boil. You’ll dump this hot water into the roasting pan when you put the bread in the oven. This creates a steam environment for the first half of baking that helps the bread develop a good crust and expand properly during initial baking.

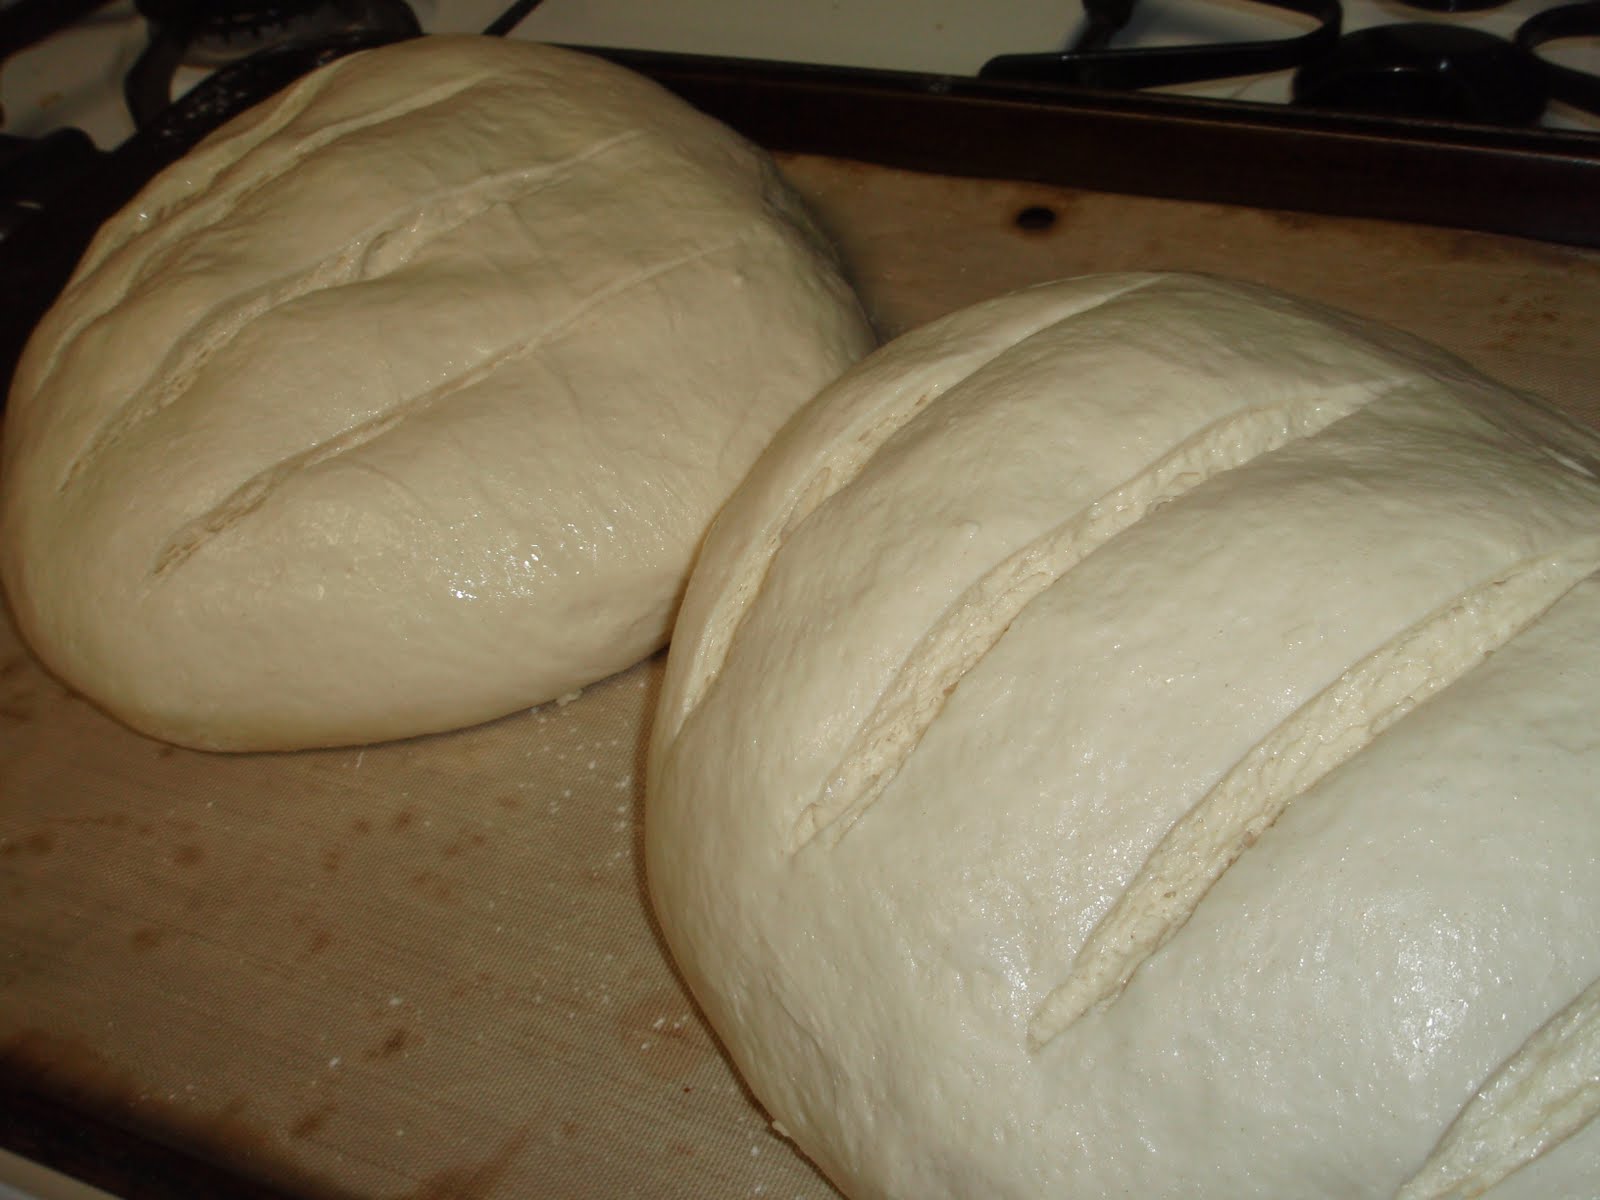
Before you put the bread in the oven, you’ll want to slash the top of the loaves to allow the final “oven spring” to occur without tearing open the crust. Depending on how active your yeast is, this may or may not be a big deal. But I prefer to slash every time, just to give the bread more room to grow. I make a slash across the loaf every 1 1/2 to 2 inches using a very sharp knife dipped in water. I slash to about 3/8″ deep – you do have to be careful while slashing the dough to make sure you don’t deflate it, especially if it is fully risen and soft.
Baking
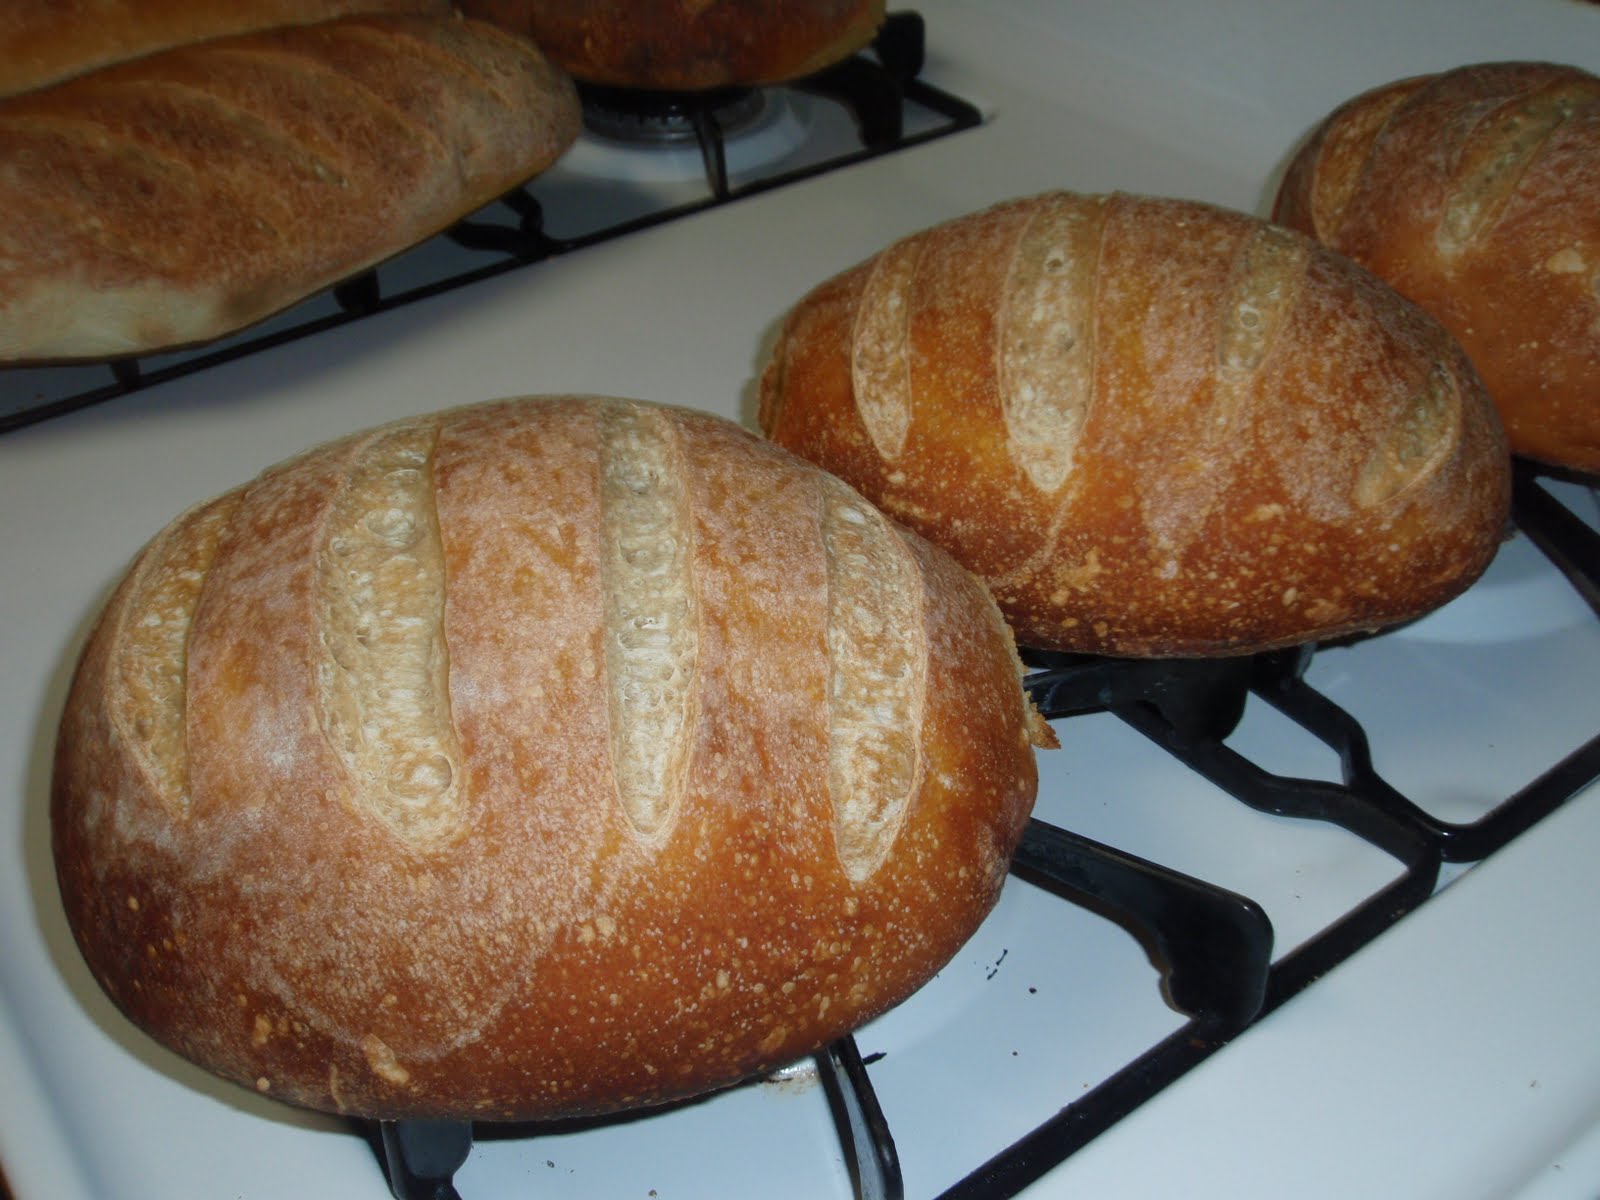
Slide the bread into the oven however you choose, and then immediately dump your boiling water into the roasting pan and close the oven door. I then set a timer for about 12 minutes, which gives the water a chance to boil off. At this point I’ll rotate the pans to help the bread begin to cook evenly. If you’re only doing 2 loaves, you may not need to rotate the pans/loaves, but I usually do six loaves at a time which is pretty crowded, and the loaves near the walls of the oven brown much faster than the loaves in the middle. I then rotate the loaves every 6 or 7 minutes until they look done – about 35 minutes of baking time in total. Then take the loaves out and allow to cool.
Some additional tips:
I love these teflon pan liners that are used to replace parchment paper. Nothing sticks to them, they’re easy to clean up, and they make handling baked goods so much easier. I will usually bake 2 loaves on each pan. About 20 minutes into baking, I sometimes remove the loaves from the pan liner and bake them directly on my stone or the wire oven rack. That just helps make the bottom crust a little more crisp. The only problem with the liners is that they do stain if you get even the smallest nick in them, and the edges will soak up oil and scorch a little bit. But they seem to work fine regardless.
Be patient. The longer you allow your dough to rise, the more the flavor and texture develops. This isn’t something that should be rushed.
If you want a bigger oven spring or a faster rise, you can add a bit of instant yeast (maybe 1/4 to 1/2 tsp) when you add the salt, sugar, and final flour. You’ll still get most of the sourdough flavor, but also a more reliable rise and more dramatic oven spring.
If you want a shiny crust, you can brush (before baking) with an egg white diluted with water, or a thin corn starch mixture. I don’t bother with this because it’s just extra work and doesn’t really affect the flavor in any way. |