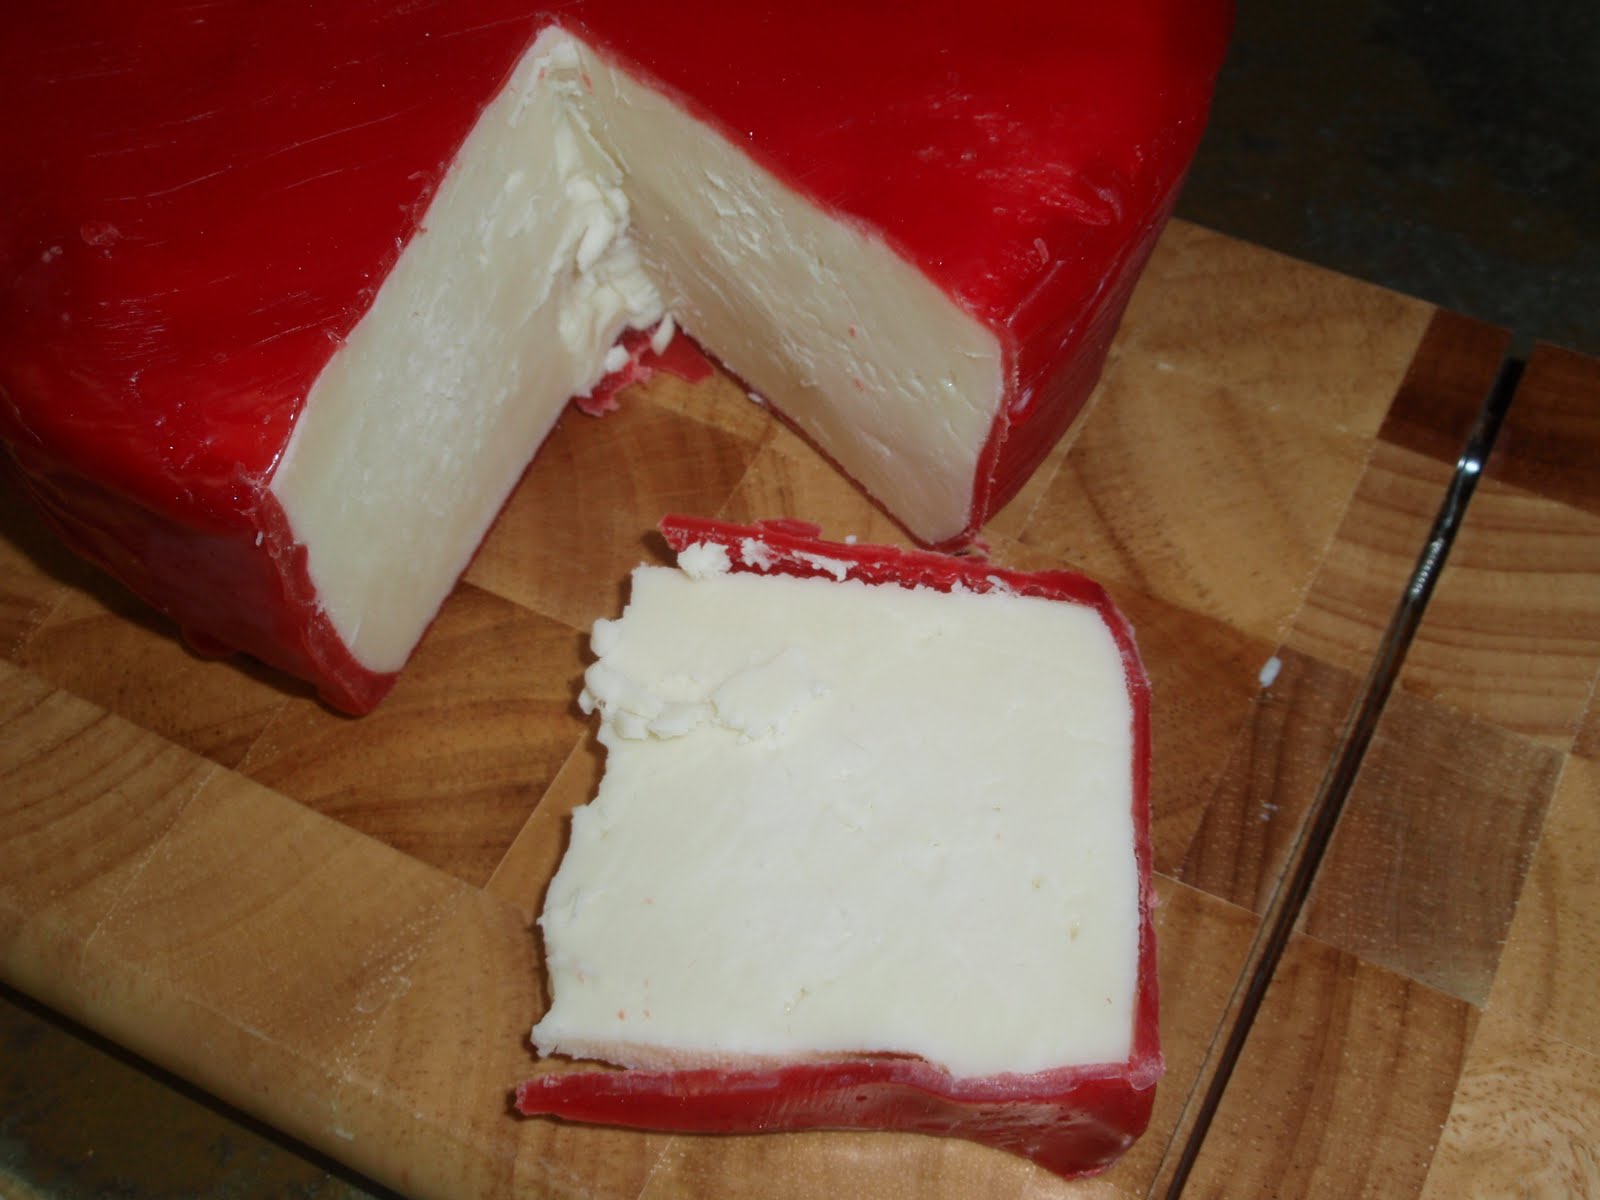
A few years ago, I decided to try my hand at making cheese. This is something that I really did just on a whim, because it sounded sort of interesting. What I found out then is that it’s a time-consuming process and the feedback is nowhere near instant. To make a good hard cheese you have to be very patient to allow it to age. There are, however, some cheeses that can be made quickly and consumed the same day. I’ll get to those in another post. For this post, I wanted to describe my second attempt (successful this time) at making an aged hard cheese.
I got my start using a kit I ordered from the New England Cheesemaking Supply Company. This kit included a book entitled Home Cheese Making by Ricki Carroll. The book has quite a few recipes for different varieties and styles of cheeses, and walks step by step through the cheese making process. The real weakness I see in this book, and in recipes I’ve found on the internet, is the lack of any real scientific method or description. The biggest problem I have with the book and other recipes comes at pressing time – it will say “press at 25 pounds for 10 hours”. Well, as we all should know, pressure is measured as force applied to an area. I guess these recipes all assume using a “standard” size mold, but that’s a strange assumption. The mold provided in the kit is circular, about six inches in diameter at the widest point. So about 30 square inches in surface area.

On “cooking” cheese – the temperatures involved for many cheeses are so low that you don’t want to heat them on the stove, but rather in a water bath directly in your sink. I have a 3 gallon pot that fits nicely inside one side of my kitchen sink, and I can maintain temperature there quite easily by running hot water from the faucet.
Leicester Cheese
Ingredients
- 2 gallons whole milk
- 1 packet direct-set mesophilic starter or 4 ounces prepared mesophilic starter
- 2 drops cheese coloring per gallon of milk (I omitted this)
- 1 teaspoon liquid rennet or 1/2 rennet tablet diluted in 1/4 cup cool unchlorinated water
- 2 tablespoons cheese salt (I used kosher salt)
Technique
Heat the milk to 85 degrees F, add the starter and mix well. Cover and allow to ripen for 45 minutes.
Add the coloring, stirring well to distribute (I didn’t add coloring to my cheese)
Add diluted rennet and stir gently up and down for a few minutes. Cover and allow to set at 85 degrees for another 45 minutes.
Cut the curd into 1/4 inch cubes. Stir occasionally for 15 minutes.
Increase temperature to 95 degrees slowly (no more than two degrees per five minutes). Maintain the temperature at 95 degrees for 30 minutes, stirring gently to keep the curds from matting together.
Pour the curds into a colander and let them drain for 20 minutes.
Place the mass of curd on a draining board and cut into slices to drain. Try to keep the slices at about 90 degrees by covering with a towel dampened in hot water. Turn the slices every 20 minutes for an hour.
Break the slices into one inch pieces and put them in a bowl. Stir for a few minutes, and then add the salt and stir for several more minutes.
Place the curds in a cheesecloth lined mold and press at 8 ounces per square inch for 30 minutes. Re-dress the cheese and turn over, placing back in the mold at one pound per square inch for 2 hours.
Re-dress the cheese, turn over, and press at 1 1/2 pounds per square inch for 24 hours.
Remove the cheese from the mold and peel off the cheesecloth. Dust with salt and air-dry for two to five days, until dry to the touch.
Wax the cheese and age it for 12 to 16 weeks.