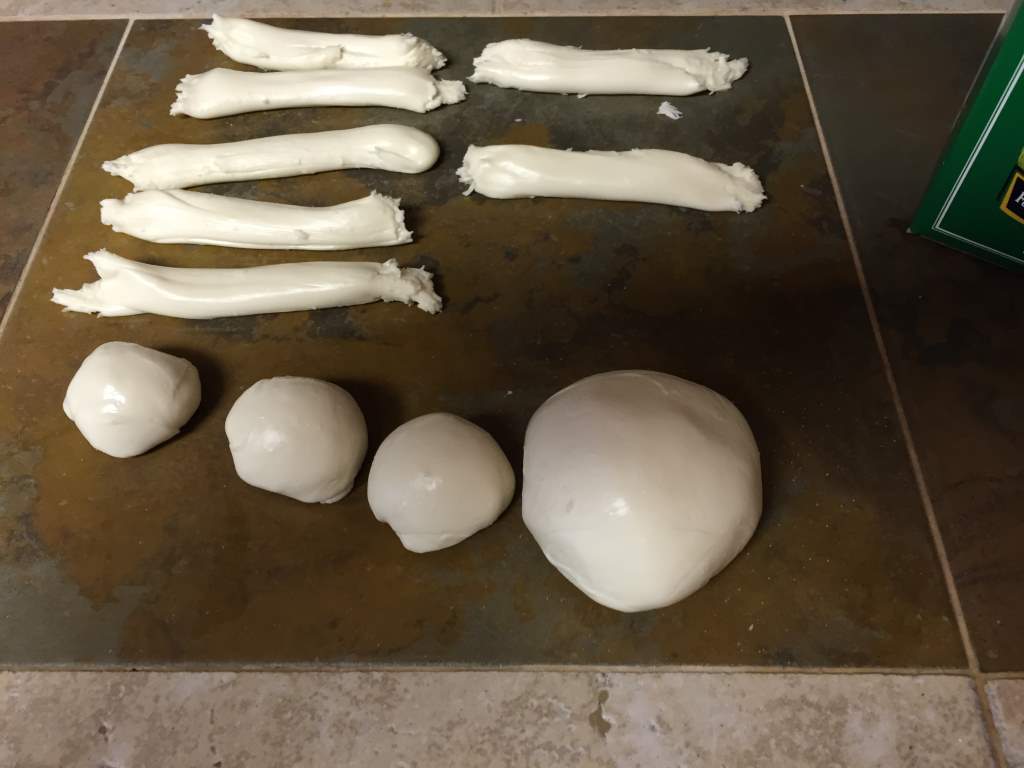
One thing our kids really like is cheese. A few years back, I got the book Home Cheese Making by Ricki Carroll, along with a starter cheesemaking kit. One of the first cheeses I made was her “30-minute Mozzarella” which seriously takes under 30 minutes from start to finish. The supplies you need to make this cheese are pretty basic, but there are definitely some little tricky things that are helpful to know before you start.
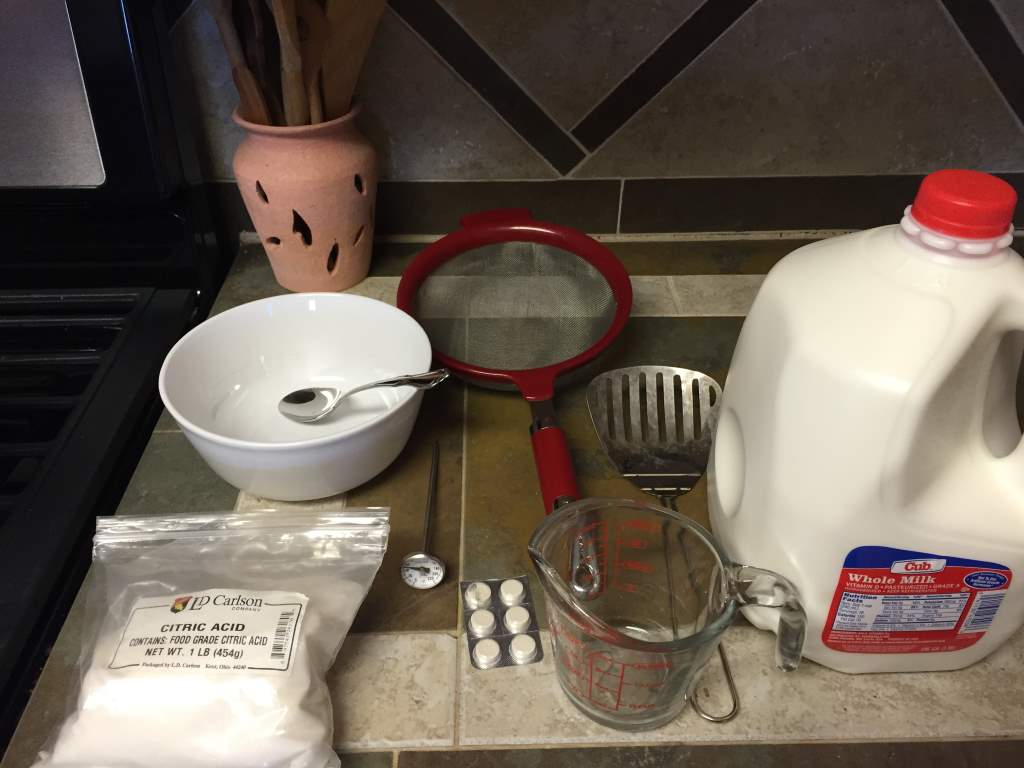
Tools
- Large pot (enough to comfortably hold your milk)
- Slotted spoon for getting curds out of your pot
- Accurate thermometer (50 – 180 degrees Fahrenheit)
- Microwave safe bowl (enough to hold about a quart)
- Liquid measuring cup
- A fine strainer and/or cheesecloth is useful, but not necessary if you have a good slotted spoon
Ingredients
- Citric acid – you can order this online for homebrewing or home cheesemaking.
- 1 gallon milk – whole milk gives the best results by far – lower fat content results in a much drier cheese
- Rennet – not Junket rennet, which is sometimes available in grocery stores but does not form a good curd
- Salt – use non-iodized salt to avoid strange flavors and potential discoloration – I use Morton’s canning and pickling salt, which is a fine grained salt without any additives
I certainly don’t claim to understand all (or even any) of the science behind making cheese, but the basic idea is to cause the various proteins in milk to coagulate – that is, to bind to each other – so you wind up with a solid mass (cheese curd) and liquid (whey). Then the solids can be separated from the liquid and turned into cheese. There are three major factors involved in separating the curds from the whey:
- pH (acidity)
- Heat
- Enzymes (rennet)
Acid causes the milk to form fine curds – you can create a paneer, ricotta, or similar rudimentary cheese simply by adding acid to milk and heating a bit, then straining the resulting curds. The addition of rennet will cause some much more interesting transformations of the curd. When added to milk and then heated, the resulting curds are smooth and almost gelatinous in appearance. “Cutting” the resulting rennet-treated curd causes it to release whey and become tighter, more solid.
Heat, as you may have learned in chemistry class, tends to accelerate a reaction. So adding heat, in moderation, will cause additional changes to the curd structure, especially after adding rennet or acid. When you add both, it can cause quite dramatic changes very quickly. Once the curd structure is formed, additional heat creates the traditional mozzarella “stretch” and texture, basically by forming a polymer of casein molecules – they are all linked together to make a stretchy, gooey mass of cheese.
Ingredients
- 1 1/2 tsp citric acid dissolved in 1/4 cup water (substitute 1/4 to 1/2 cup white vinegar if you can’t get citric acid, but it may not turn out the same!)
- 1 gallon whole cow’s milk – most any brand will work fine, just avoid anything that’s high-temperature pasteurized (UHT)
- 1/4 tablet of rennet or 1/4 teaspoon liquid rennet, diluted in about 1/4 cup of water
- 1 teaspoon salt (plain salt, no additives!)
Here’s the procedure, adapted a bit from Ricki Caroll’s Home Cheese Making book. Heating can be done either on the stove over low heat, or in a water bath (in your kitchen sink) using hot water surrounding the pot to bring the milk up to temperature:
Procedure
Create the initial curds
- Make sure your pot, hands, and thermometer are clean
- Put the milk in a large pot and bring to 55 degrees Fahrenheit (13 C)
- Add the citric acid solution while stirring gently
- Raise the temperature of the milk to 88 degrees (31 C)
- Stir in the diluted rennet mixture while bringing the milk up to about 105 degrees (40 C)
- Remove from heat – the curds should become quite distinct at this point – if not, wait a few more minutes. Wait for the whey to become mostly clear.
- Scoop out the curds with a slotted spoon, or drain through a fine sieve. If you plan to heat your curds on the stove, reserve a quart or two of the whey.
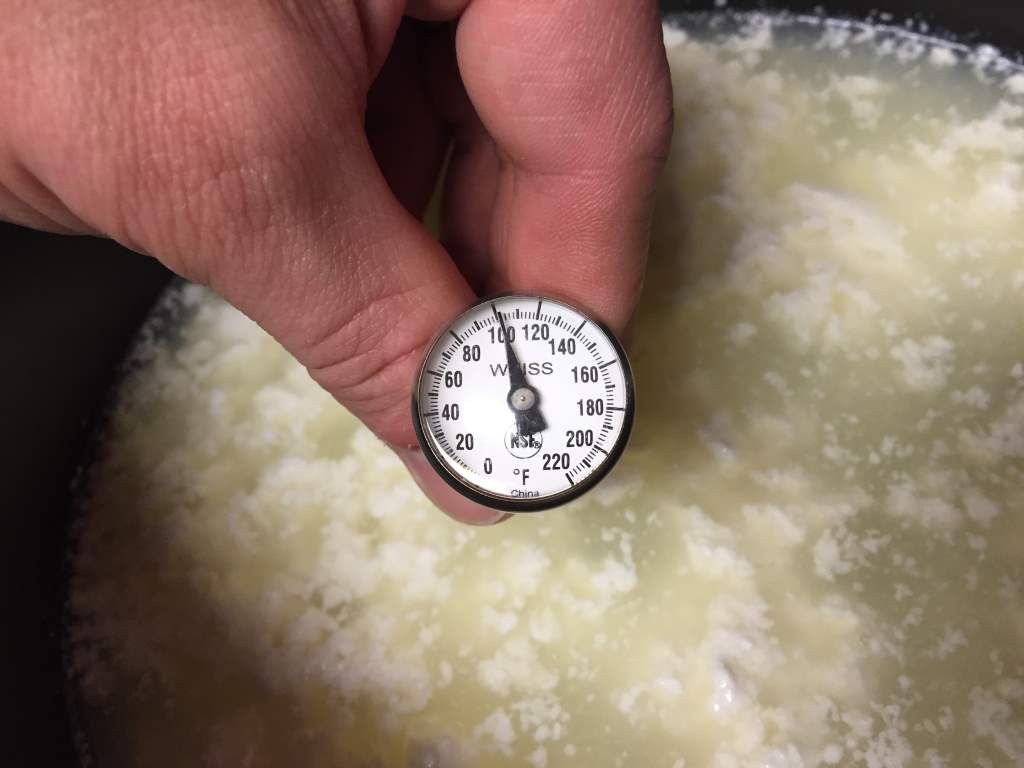
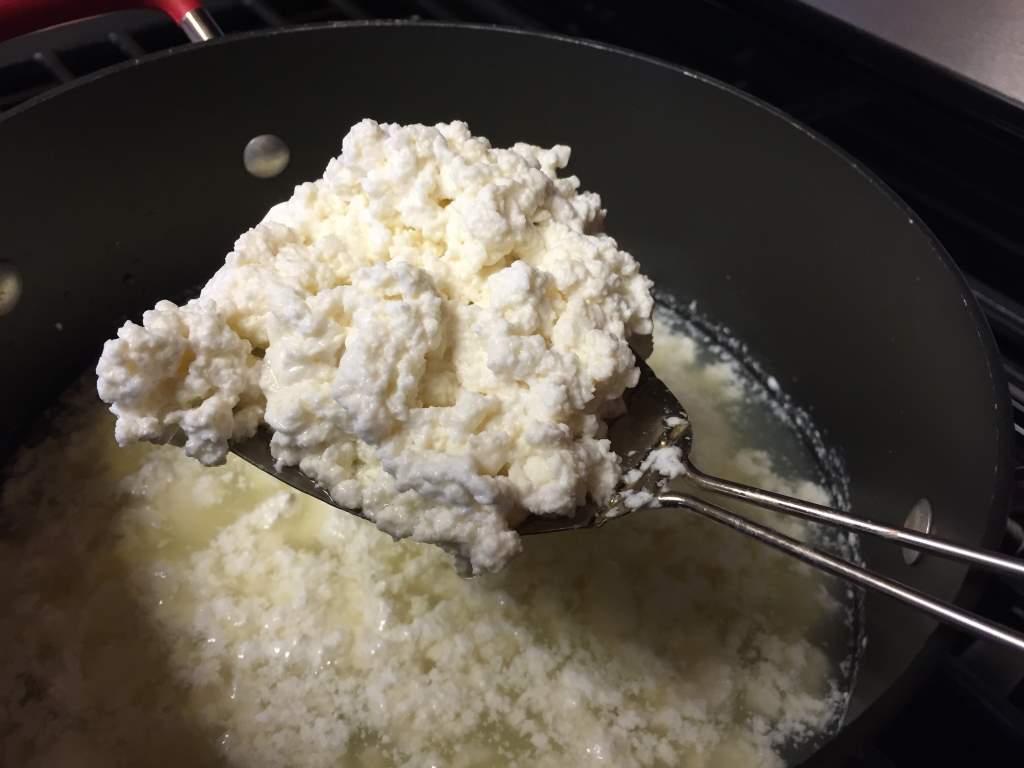
You can keep as much of the whey as you want. I have read that it is good for cooking, or drinking straight. I don’t much care for it so I tend to just pour it down the drain.
Heating and kneading the curds – stove top
- Heat the whey to about 175 degrees (80 C)
- Add 1/4 cup salt to the whey
- Shape the curds into balls (as many as desired), dip in the whey for a few seconds, and use two spoons to knead the cheese until it is smooth.
Heating and kneading the curds – microwave
- Drain the curds thoroughly
- In a microwave safe bowl, microwave the curds for 60-90 seconds on high power (this depends a LOT on the power of your microwave! I have a small microwave that is low-powered, so it takes longer than a standard full-size microwave)
- Carefully remove the bowl from the microwave and stir the curds. Drain off any excess whey.
- Microwave again for another 30 seconds. Again stir the curds. They should be starting to look more like mozzarella cheese. If they are still lumpy, microwave another 30-60 seconds in total.
- Your curds should now be HOT! Add salt, and using spoons, begin to stretch and knead the cheese.
- As the curds cool, continue to stretch and fold with your hands (careful, really hot cheese!) or a pair of spoons.
- Once the cheese reaches a smooth and elastic consistency, it’s done. You may need to reheat it briefly while stretching to keep it at high enough temperature.
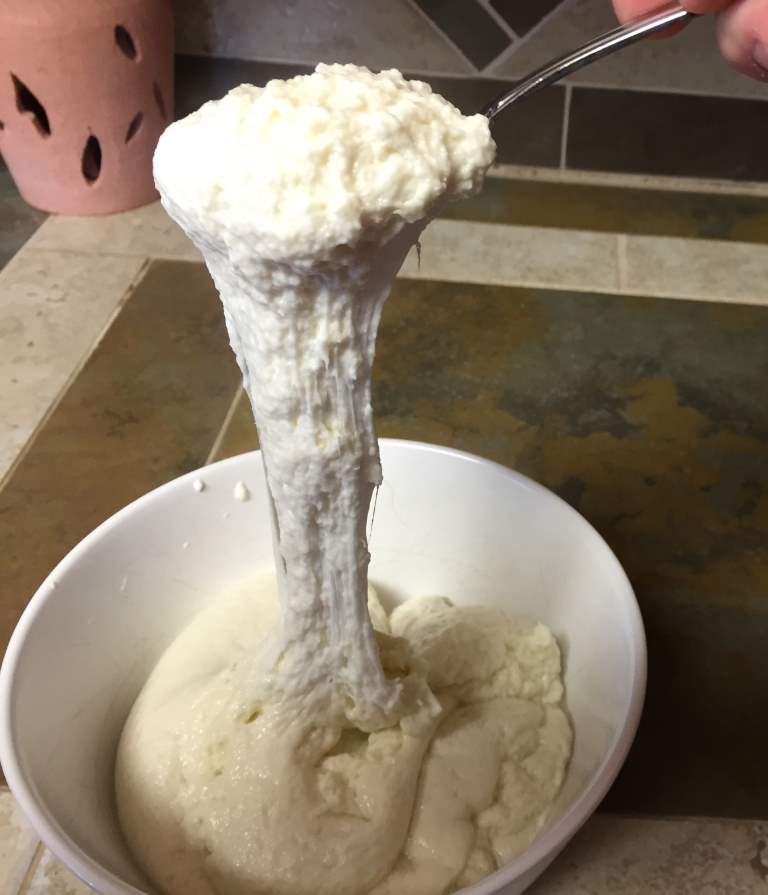
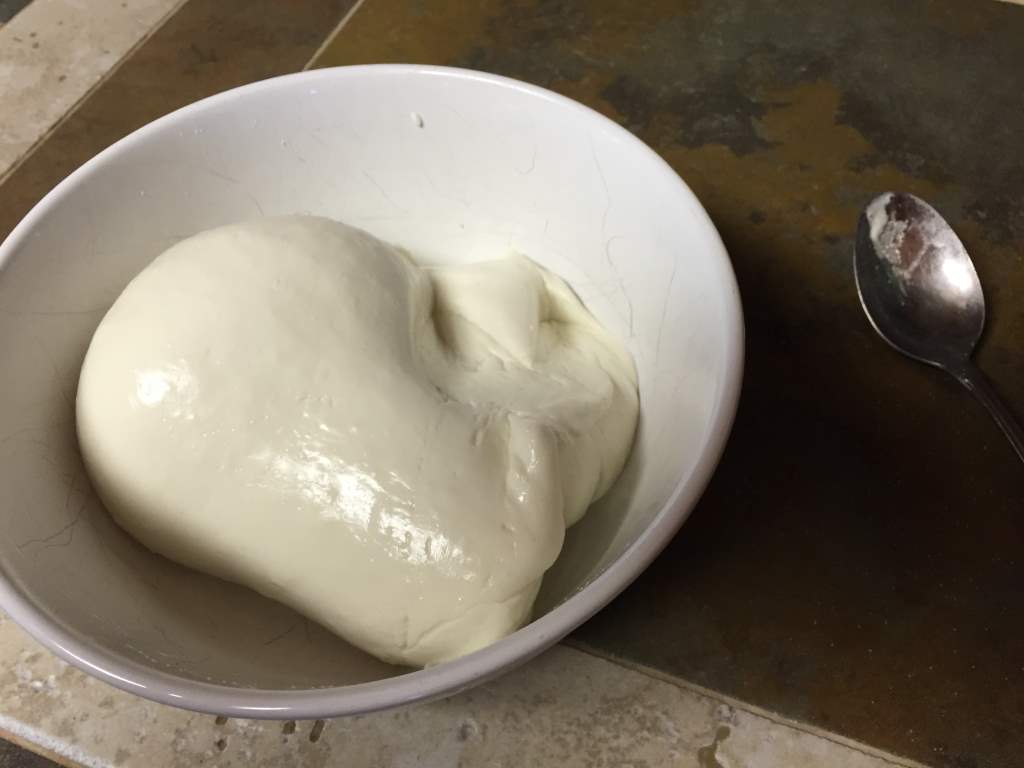
Finishing the cheese
- Shape your cheese into small balls or stretch it into long sticks for string cheese! If it cools down too much, you may need to reheat it a bit by returning it to the microwave or the hot whey.
- Eat immediately or cool in ice water to bring the temperature down quickly, then store covered in the refrigerator.
